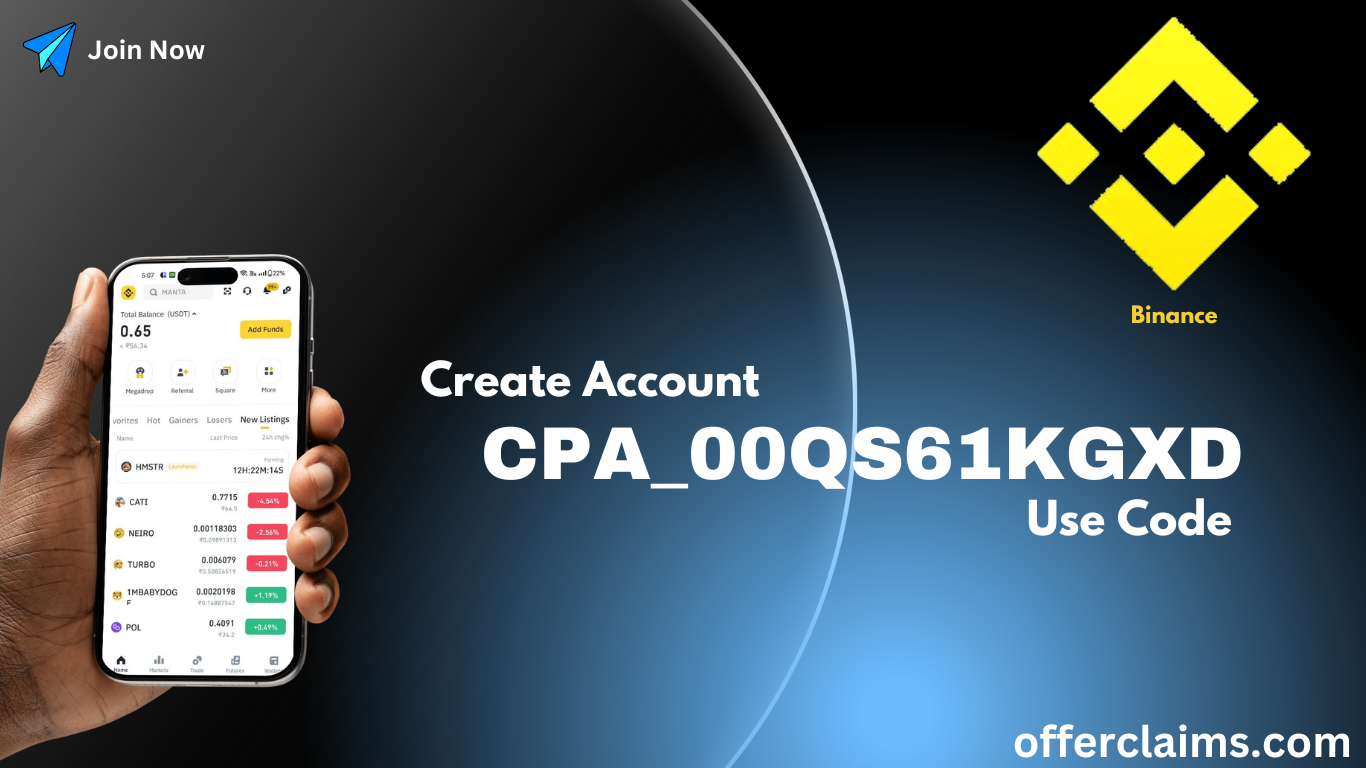
Hello friends, welcome to our Offerclaims website. I hope you are very well healthy and mentally at this time. Friends, today I will tell you about the world’s largest exchange application, the application name is the Binance Exchange. Today I will tell you all the processes step-by-step on this app, including the app downloading, and account opening process.
Friends, I think you first click the join button on our website, because when a new post is uploaded to our Offerclaims website, you first visit it.
Binance App Review
Binance is the largest cryptocurrency exchange by trading volume, serving 185M+ users across 180+ countries. With over 350 listed Altcoins securely buy, sell, and hold cryptocurrencies with low trading fees. This app is available on the Google Play Store, and this app referral bonus is $100 for both. This app minimum fiat deposit & withdraw ₹200, and a maximum of 50K USD daily. This app makes the deposit and withdrawal process instant.
Binance App Download
FIRST CLICK THE APP DOWNLOAD BUTTON >> THEN YOU AUTOMATICALLY GO TO THE GOOGLE PLAY STORE APP>>NOW SEARCH THE BINANCE >> THEN YOU WILL SEE THE INSTALL OPTION >> NOW TAP ON THE INSTALL BUTTON >> AFTER COMPLETE THE INSTALLING OPEN IT>>DONE.
Binance Exchange Invitation Code: CPA_00QS61KGXD
Binance Exchange
Binance Account Opening
This app account opening process is simple for you to complete. I will show you some steps for the account opening process. If you follow my steps, then you complete the account opening process. Let’s see…
- First, open the app and click the I’m new to crypto option.
- Next, allow some permission and click the accept all option.
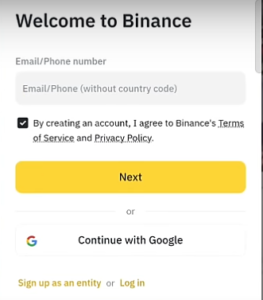
- Next, click the Continue with Google option select your g-mail ID, click the Agree and Share option, and click the next option.
- Next, page select yes enter the referral code, and click the next. next, select your country and click the continue option.
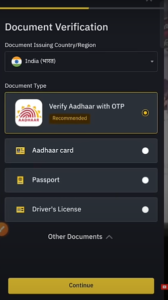
- Next, select document type (select Aadhaar with OTP) and click continue. now enter your Aadhaar number, tick the check box, and click continue. next, enter the verification code and click continue.
- Next, enter your PAN number and click continue. then you see your account is verified now click the go to home option.
Done, your account opening process is complete wait for a few hours, then you will see your account is verified.
Binance Add Funds (P2P)
I hope you understand the account opening process. Now I will tell you how to add funds on this app. I will show you some steps for the fund add process. If you follow my steps, then you complete the funds add process. Let’s see it…
- First, open the app home page.
- Then you will see the add funds option click the option.
- Next, click the P2P Trading.
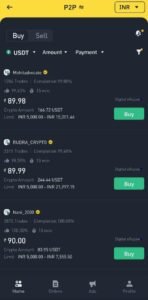
- Next, you see many sellers first, click the USDT option and select which coin you need to buy.
- Next, tap the amount option, enter your deposit amount, and click the confirm option. next, click the payment option select which method to pay the seller, and click the confirm option.
- Next, choose your seller and click the buy option. next, page enter your deposit amount and click the buy USDT option. next, click the view payment details option and click the next options.
- Next, you see seller payment details now pay your deposit amount with this UPI ID, and account number, however, take a screenshot of your payment proof.
- Next, click the transferred notify seller option, click the (+) option, and upload your payment proof screenshot. next, tick the checkboxes and click Transferred to inform the seller.
- Next, please wait a few minutes then he release your coin.
Now, your fund add process is complete.
Binance Refer & Earn
I think you understand the fund add process. Now I will show you some steps for the refer and earn process. When you complete the process then you get the bonus. Let’s see it step by step.
- Open the app home page.
- Click the profile option and click the refer option.
- Now copy your affiliate link and code.
- Then share with your friends.
- When he completes the first deposit then you get a bonus.

Successful, your referral process is complete.
Binance New Listing Coin Name & Price
| Coin Name | Listing Date | Price |
| POL | 13/09/2024 | 0.4020 |
| 1MBABYDOGE | 16/09/2024 | 0.0019959 |
| TURBO | 18/09/2024 | 0.006133 |
| NEIRO | 16/09/2024 | 0.00117416 |
| CATI | 20/09/2024 | 0.7591 |
| HMSTR | 26/09/2024 | 0.098 |
Binance Money Withdraw
Friends, I hope you understand the refer and earn process. Now I will show you some steps for the money withdrawal process. If you follow my steps, then you complete the money withdrawal process.
If you want to legally withdraw your cryptos, you transfer all your cryptocurrency to an Indian exchange (CoinDcx). After completing the transfer, then you withdraw your account. Follow my steps.
- Binance To CoinDcx Crypto Transfer
- Open the CoinDcx home page, and click the plus icon.
- Next, click the crypto option and click the deposit option.
- Next, click the BNB option, click network & select BEP20, and click submit.
- Next, back to the Binance app, open your wallet, click BNB, and click withdraw.
- Now enter your network (BEP20) and enter the transfer address (back CoinDcx Copy Address & past on Binance). next, click withdraw and click the confirm option.
- Next, enter the verification code and click submit.
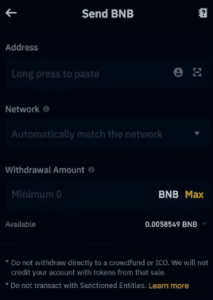
Now wait a few seconds then you will see your Binance to CoinDcx crypto transfer is completed.
2. Money Withdraw CoinDcx To Account
- Open your CoinDcx portfolio, and click Binance coin.
- Now you see your Binance to CoinDcx deposit, click it.
- Then you see the sell option click it. now enter how much crypto you want to sell.
- Next, tick the check box and click the ok option. now swipe to the sell option.
- Then you see your sell is complete, and your amount is credited to the fund’s option on the home page.
- Simply tap the fund option and click the withdraw option. now enter your withdrawal amount, and click the continue to withdraw option.
- Next, enter the verification code and wait a few minutes, and your withdrawal amount will be credited to your account.
Now, your money withdrawal process is complete.
Related post-Bybit Account Opening – Link
